DeepInfra raises $107M Series B to scale the inference cloud — read the announcement

Double exposure is a photography technique that combines multiple images into a single frame, creating a dreamlike and artistic effect. With the advent of AI image generation, we can now create stunning double exposure art in minutes using LoRA models. In this guide, we'll walk through how to use the Flux Double Exposure Magic LoRA from CivitAI with DeepInfra's deployment platform.
What You'll Need
- A CivitAI account (free)
- A DeepInfra account (free)
Set Up a LoRA model
- Log in to your DeepInfra account
- Navigate to the Deployments section
- Click the "New Deployment" button in the top right corner
- Select "LoRA text to image" from the options
Once you navigate to this section, you will see a screen like this:
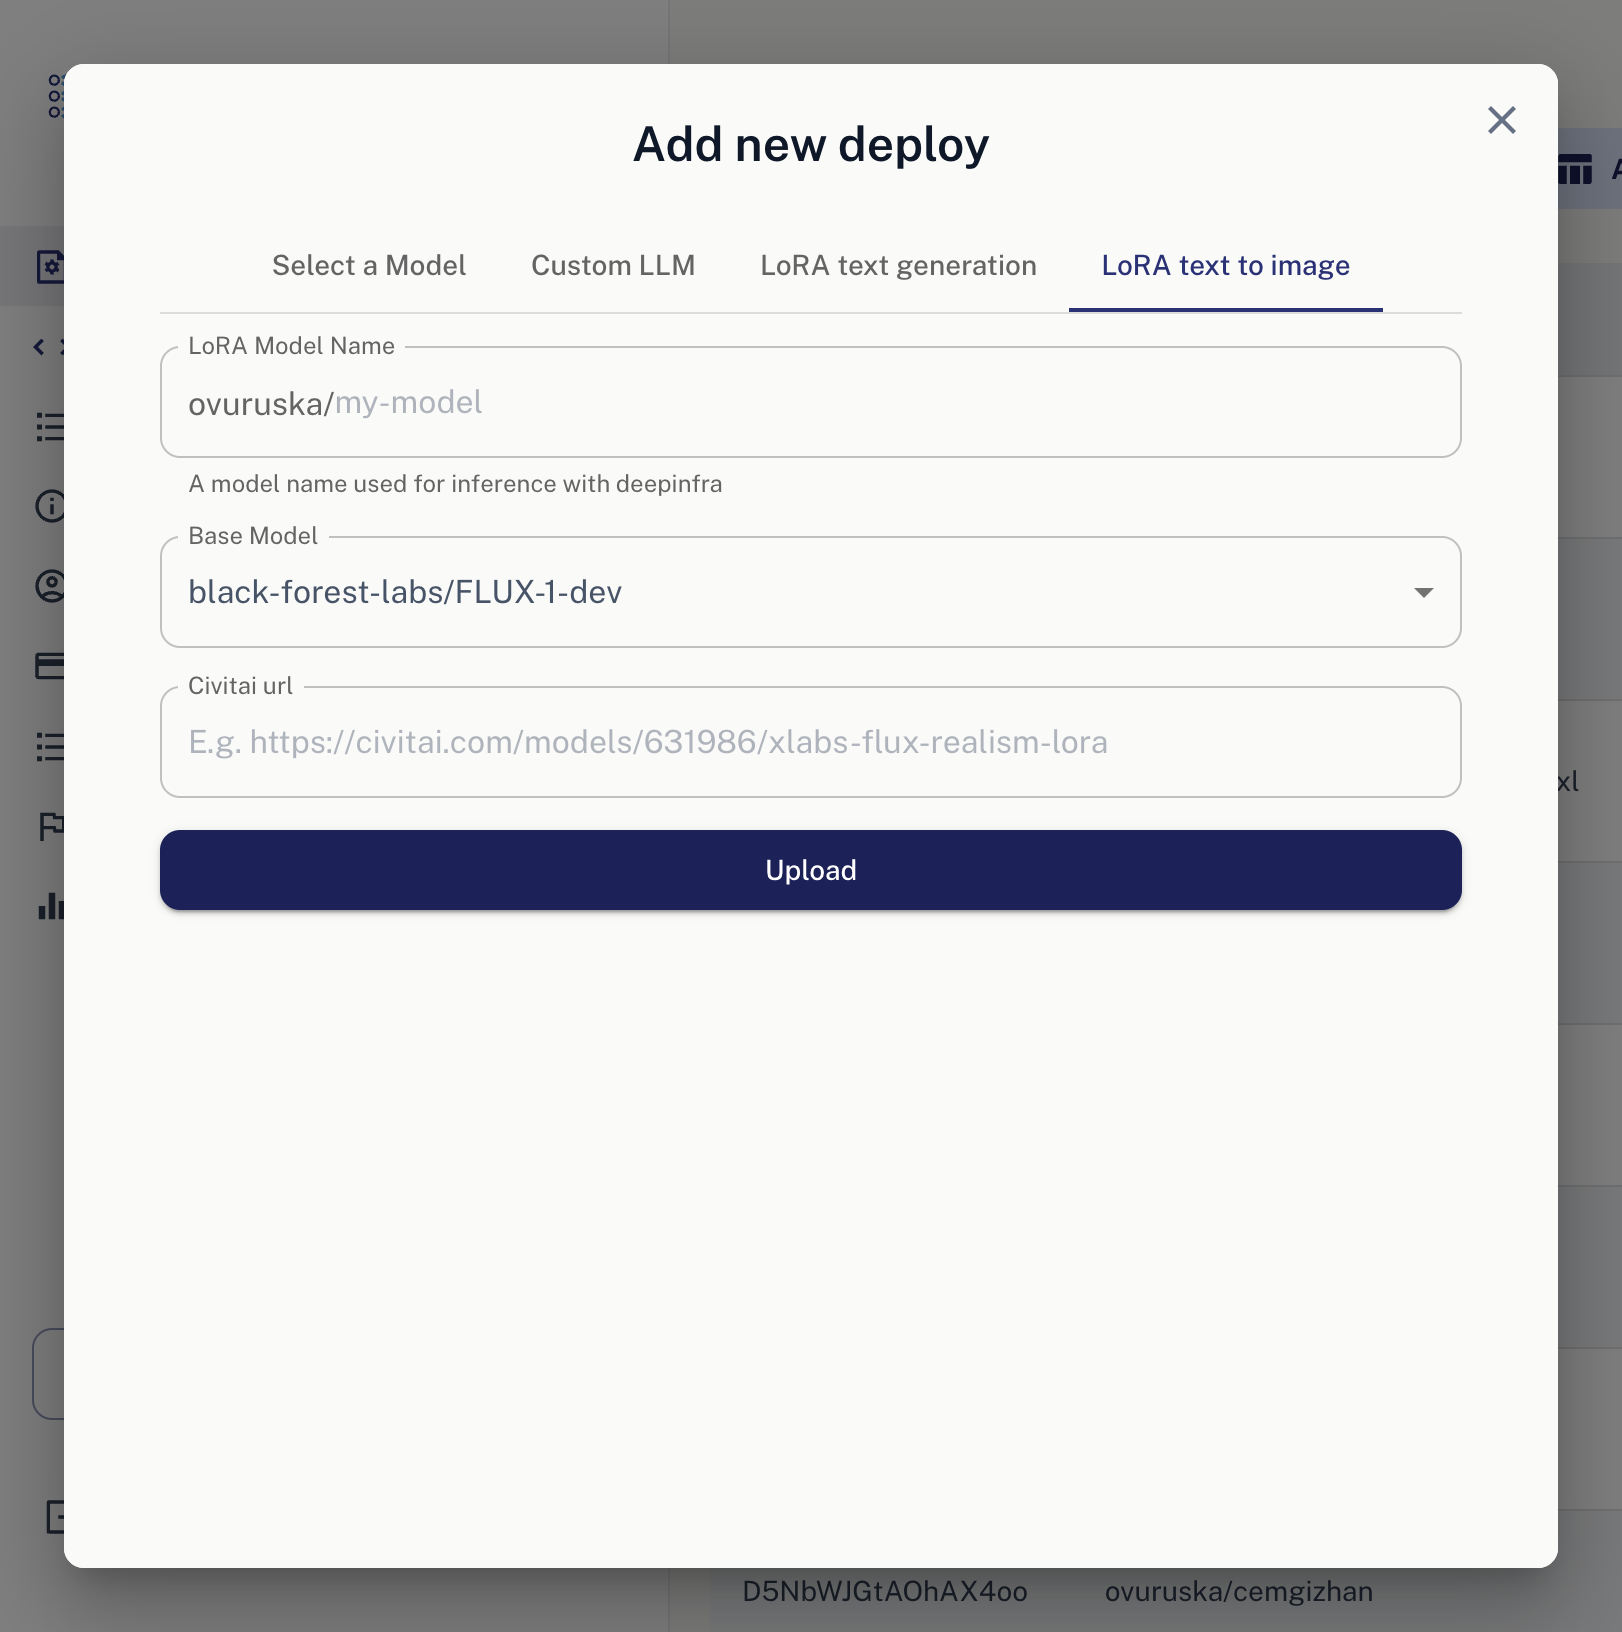 5. Write your preferred model name.
6. We'll use FLUX Dev for this LoRA. You can keep it as it is.
7. Add the following CivitAI URL: https://civitai.com/models/715497/flux-double-exposure-magic?modelVersionId=859666
8. Click "Upload" button, and that's it. VOILA!
5. Write your preferred model name.
6. We'll use FLUX Dev for this LoRA. You can keep it as it is.
7. Add the following CivitAI URL: https://civitai.com/models/715497/flux-double-exposure-magic?modelVersionId=859666
8. Click "Upload" button, and that's it. VOILA!
Once LoRA processing has completed, you should navigate to
http://deepinfra.com/<your_name>/<lora_name>
When you have navigated, you should view our classical dashboard, but with your LoRA name.
An Example: Cyberpunk Double Exposure
Now let's create some stunning visuals... Let's break down this stunning example:
bo-exposure, double exposure, cyberpunk city, robot face

Key Takeaway ⚠️
Notice how we use BOTH bo-exposure and double exposure. This combination is crucial - using both terms together gives you the best double exposure effect.
More tutorials are on the way. See you in the next one 👋
 Pricing 101: Token Math & Cost-Per-Completion Explained<p>LLM pricing can feel opaque until you translate it into a few simple numbers: input tokens, output tokens, and price per million. Every request you send—system prompt, chat history, RAG context, tool-call JSON—counts as input; everything the model writes back counts as output. Once you know those two counts, the cost of a completion is […]</p>
 GLM-5.1 Pricing Guide: API Cost Comparison & Analysis<p>Provider choice for GLM-5.1 is a real economic decision. Across 10 benchmarked API providers, blended pricing runs from $0.74 to $1.70 per 1M tokens, output speed from 33.8 to 175.2 t/s, and the fastest provider is 5.2x quicker than the slowest. For teams deploying at scale, that spread determines whether this model fits a production […]</p>
 Kimi K2.6 Pricing Guide 2026: Compare Costs & Deployment Strategies<p>Kimi K2.6 matters because it sits in a rare spot: open weights, broad provider availability, and a real spread in pricing and runtime performance depending on where you buy it. Artificial Analysis tracks the model across nine API providers, with blended pricing ranging from $1.15 to $2.15 per 1M tokens and major differences in throughput […]</p>




© 2026 DeepInfra. All rights reserved.